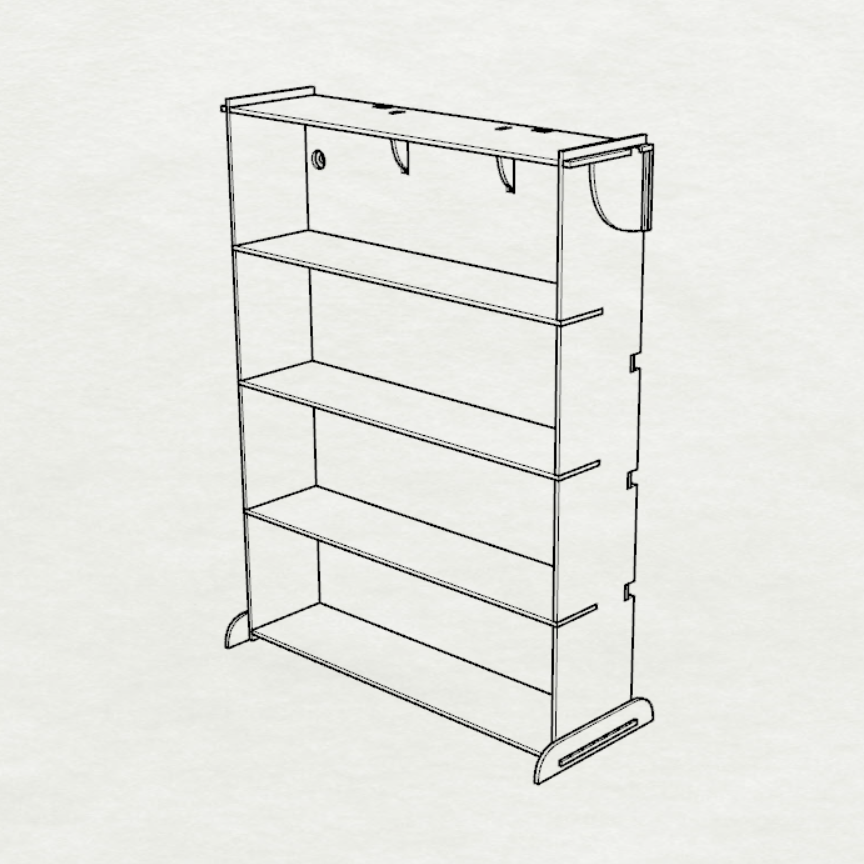
We highly recommend assembling the basic frame of the rack with no glue at first, just to get a feel for how the paint rack goes together.
Then, once you’re familiar with how it goes together, we recommend using a standard white wood glue which dries translucent for best results. We don’t recommend using superglue as the set time is too quick. We do also recommend using a few pieces of masking tape to hold the rack pieces together tightly once glued until the glue dries. This will prevent any gaps.
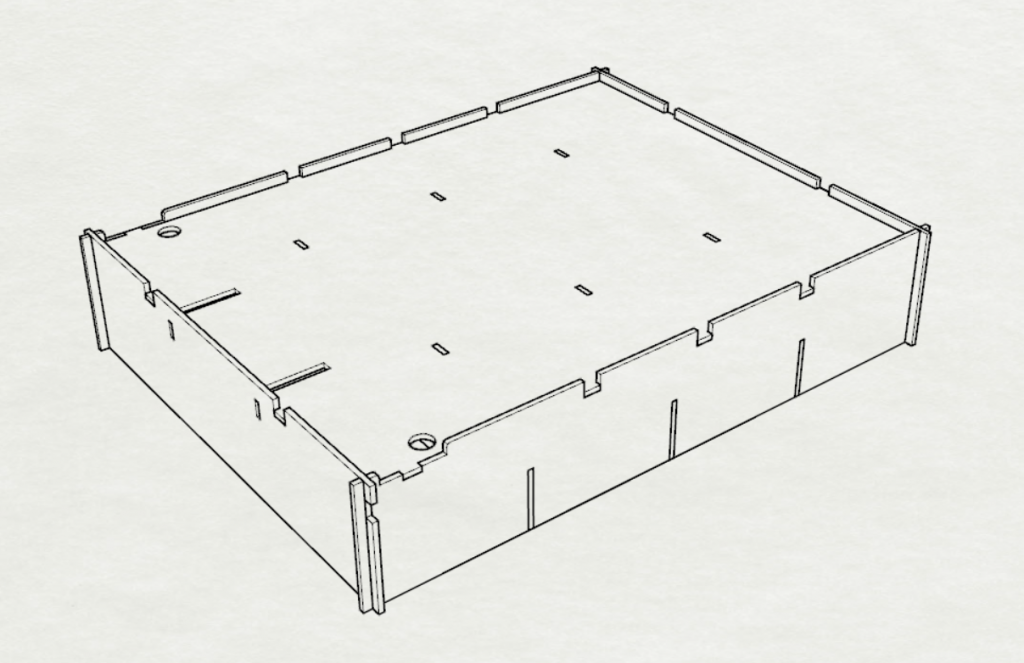
STEP 1
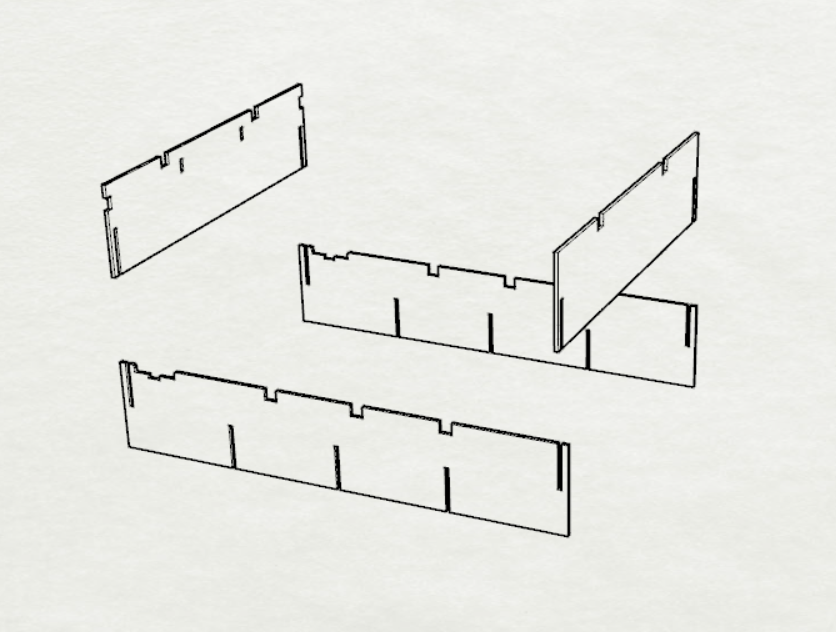
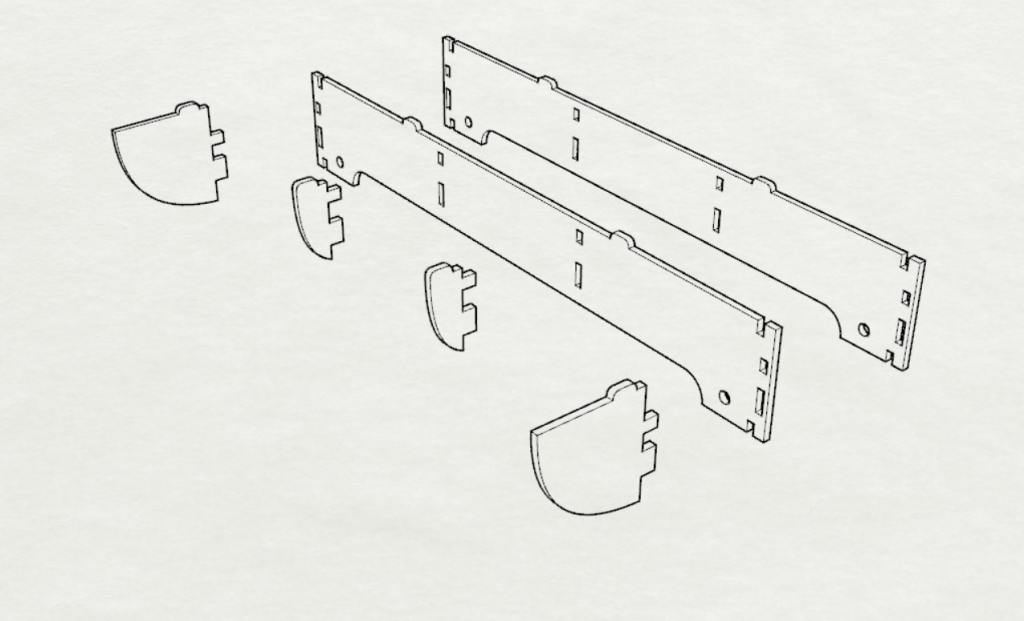
STEP 2
STEP 3
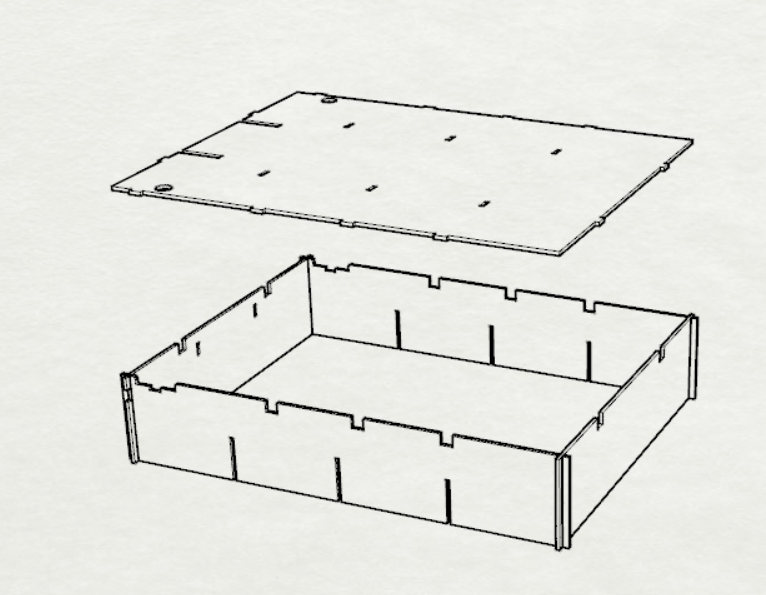
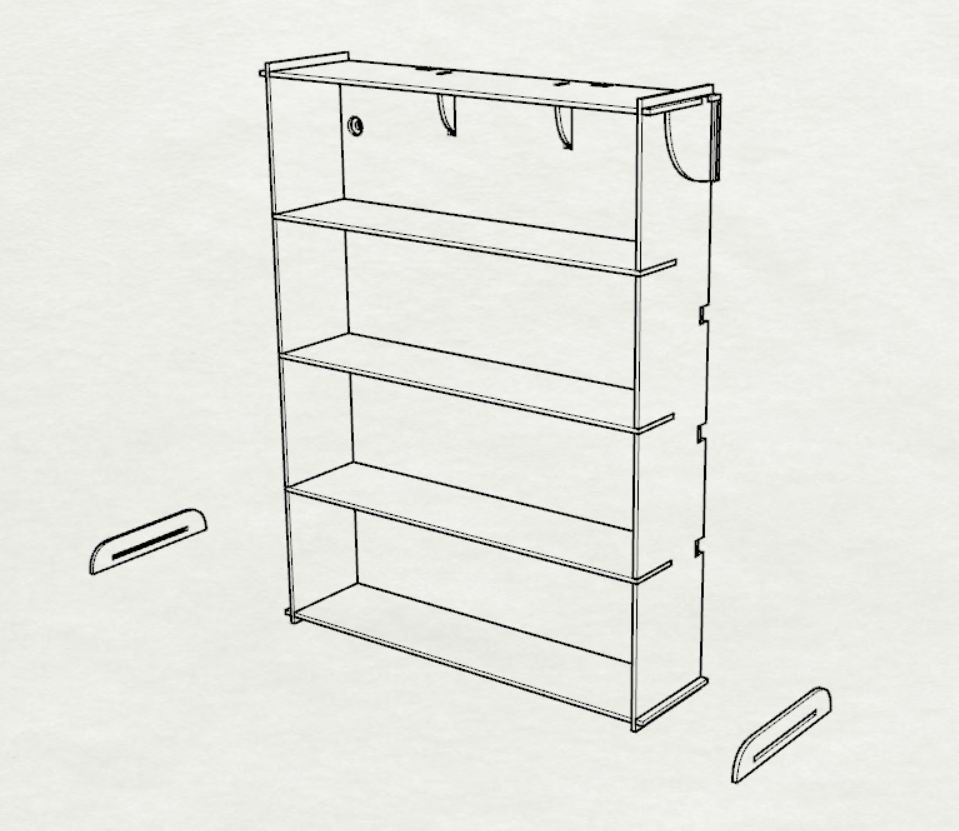
STEP 4
(NOTE: Before turning rack on it’s face, I will wipe off any excess glue on the front sides, so that it doesn’t drip down while being placed like this.)
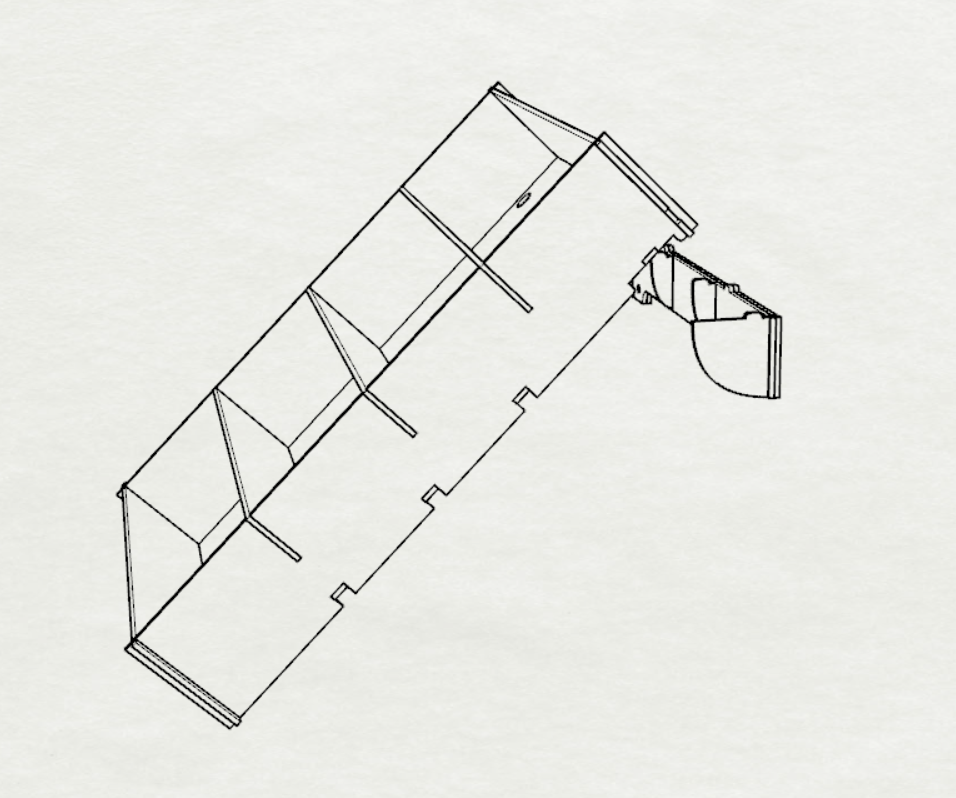
STEP 5
At this point, it would be a good idea to wrap some masking tape around the two large pieces to hold them together tightly while the glue dries.
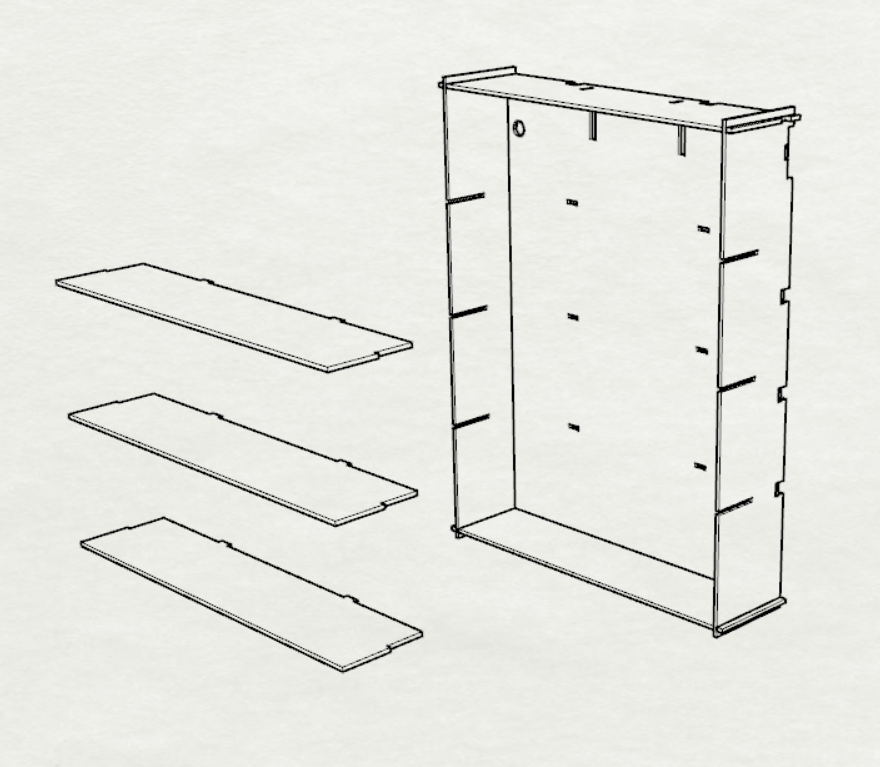
STEP 6
Once the glue on the rack and the hanging bracket is dry, you can attach the hanging bracket to the standing rack even if you’re not hanging the rack on the wall at this time. This will make sure you don’t misplace the bracket later. Do not glue the bracket to the rack, it’s best to keep it removable.
STEP 7
Please note that the bracket and paint rack were designed to fit together snugly so that gluing them together wouldn’t be needed, so the two outer side pieces of the mounting bracket may need to be slightly and gently pushed apart for the rack to slide into place the first time.
STEP 8